
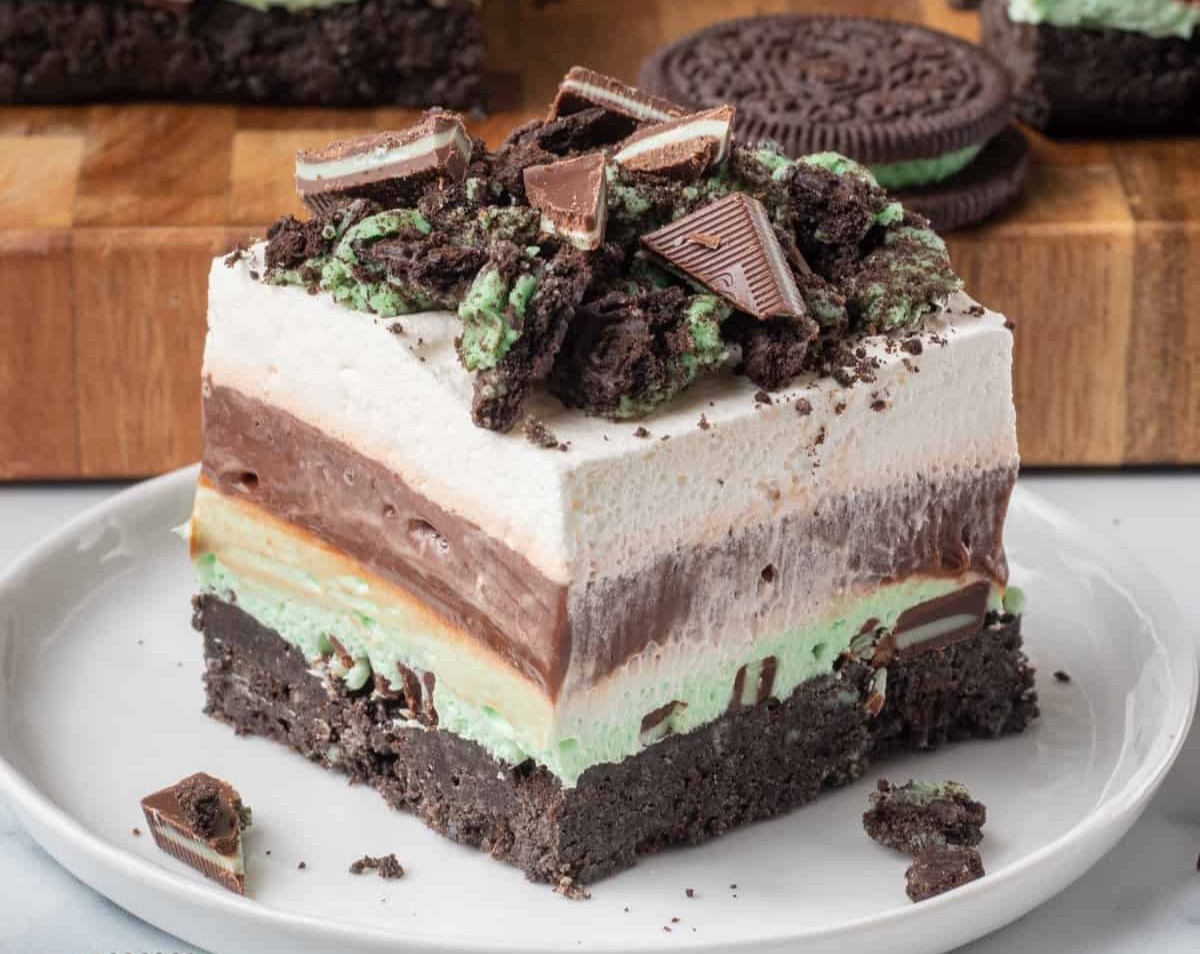
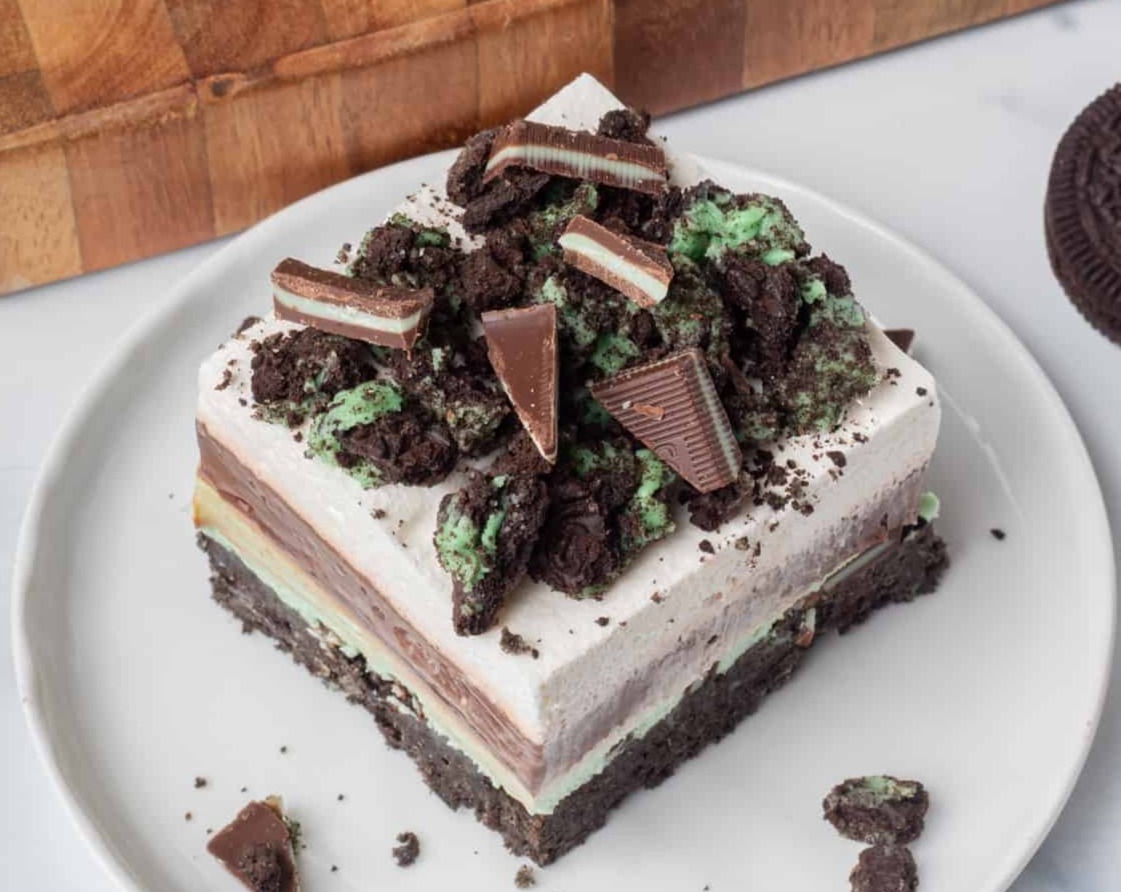
If you are a fan of the classic chocolate and mint flavor combination, you are in for an absolute treat with these Chocolate Mint Dream Bars. There is something truly magical about the contrast between rich, deep chocolate and cool, refreshing mint that makes every single bite feel like a special occasion. Perfect for holiday dessert tables, summer potlucks, or simply a weekend baking project, these bars are as beautiful to look at as they are delicious to eat. Making them from scratch is incredibly rewarding, and the distinct, colorful layers are sure to impress your family and friends. Best of all, they require no complicated techniques, meaning you can achieve bakery-quality results right in your own kitchen. Get ready to elevate your dessert game and create a new household favorite that everyone will be begging you to make again and again.
Helpful Tips
- For clean slices, wipe your knife with a warm, damp paper towel between each cut to prevent the chocolate glaze from cracking.
- Make sure the brownie base is completely cooled before adding the mint layer, otherwise the mint buttercream will melt and run.
- Feel free to customize the mint intensity by starting with 1/2 teaspoon of peppermint extract and adding more to taste.
- For an extra festive look, sprinkle crushed candy canes or chocolate curls over the chocolate glaze before it completely sets.
Step-by-Step Instructions
- Preheat your oven to 350°F (175°C) and line an 8×8 inch baking pan with parchment paper, leaving an overhang on the sides for easy removal.
- In a medium bowl, whisk together the melted butter, granulated sugar, and cocoa powder until well combined.
- Whisk in the egg and vanilla extract until the mixture is smooth.
- Gently stir in the flour and salt just until combined, then spread the batter evenly into the prepared baking pan.
- Bake for 12 to 15 minutes, or until the edges are set and a toothpick inserted into the center comes out with a few moist crumbs. Let the base cool completely.
- While the base cools, prepare the mint filling by beating the softened butter, powdered sugar, heavy cream, peppermint extract, and green food coloring in a medium bowl with a hand mixer until light and fluffy.
- Spread the mint filling evenly over the cooled chocolate base, using a spatula to smooth the top. Place the pan in the refrigerator for at least 30 minutes to set.
- To make the chocolate glaze, combine the chocolate chips and butter in a microwave-safe bowl. Microwave in 30-second intervals, stirring in between, until completely melted and smooth.
- Pour the warm chocolate glaze over the chilled mint layer, tilting the pan to ensure it spreads into an even, beautiful layer.
- Refrigerate the bars for at least 1 to 2 hours, or until the chocolate topping is completely set, before slicing into squares and serving.
Ingredients
- For the Base: 1/2 cup unsalted butter, melted
- For the Base: 1/2 cup granulated sugar
- For the Base: 1/3 cup unsweetened cocoa powder
- For the Base: 1 large egg, room temperature
- For the Base: 1 teaspoon vanilla extract
- For the Base: 3/4 cup all-purpose flour
- For the Base: 1/4 teaspoon salt
- For the Mint Layer: 1/2 cup unsalted butter, softened
- For the Mint Layer: 2 cups powdered sugar
- For the Mint Layer: 2 tablespoons heavy cream
- For the Mint Layer: 1 teaspoon peppermint extract
- For the Mint Layer: 3 drops green food coloring (optional)
- For the Chocolate Glaze: 1 cup semi-sweet chocolate chips
- For the Chocolate Glaze: 4 tablespoons unsalted butter
Shopping List
- Baking & Pantry: 1/2 cup granulated sugar
- Baking & Pantry: 1/3 cup unsweetened cocoa powder
- Baking & Pantry: 3/4 cup all-purpose flour
- Baking & Pantry: 2 cups powdered sugar
- Baking & Pantry: 1 cup semi-sweet chocolate chips
- Baking & Pantry: 1 teaspoon vanilla extract
- Baking & Pantry: 1 teaspoon peppermint extract
- Dairy & Eggs: 1 1/4 cups unsalted butter
- Dairy & Eggs: 1 large egg
- Dairy & Eggs: 2 tablespoons heavy cream
- Miscellaneous: Green food coloring
Equipment Needed
- 8×8 inch baking pan
- Parchment paper
- Medium mixing bowl
- Stand mixer or hand mixer
- Microwave-safe bowl
- Rubber spatula
- Measuring cups and spoons
- Sharp knife
Variations & Serving Ideas
These Chocolate Mint Dream Bars are best served chilled directly from the refrigerator, which keeps the individual layers wonderfully firm and distinct. Present them on a clean white serving platter to make the vibrant green mint layer pop beautifully. If you have leftovers, store them in an airtight container in the refrigerator for up to 5 days, separating any stacked layers with parchment paper. You can also freeze these bars for up to 3 months; just thaw them in the fridge overnight before serving.
I hope you absolutely fall in love with these decadent Chocolate Mint Dream Bars! If you try this recipe, please leave a comment below and let me know how they turned out for you—I always love hearing about your sweet baking adventures!
#chocolatemint #dessertbars #brownies #holidaybaking #mintdessert #easybaking #layeredbars #chocolateganache
